Motomaster’s Eliminator series offers intelligent battery charging solutions‚ detailed in comprehensive manuals like 011-1518 and 011-1978-2․
These chargers‚ including models 011-1519-6 and 011-1970-8‚ provide versatile power for various battery maintenance needs‚ as shown in YouTube reviews․
Understanding the manual is crucial before and during use‚ ensuring optimal performance and safety‚ especially when integrating solar panels․
Overview of the Eliminator Series
The Motomaster Eliminator series represents a robust line of battery chargers and maintainers designed for automotive‚ marine‚ and general-purpose battery applications․ These chargers‚ documented in manuals like those available on ManualsLib for models 011-1978-2 and 011-1970-8‚ are known for their intelligent charging capabilities․
The series encompasses various models‚ including the 15/1A and 1․5A versions‚ catering to different battery sizes and charging requirements․ A key feature across the series is the inclusion of both manual and automatic charging modes‚ offering users flexibility and control․ The availability of detailed PDF manuals‚ such as 011-1518‚ ensures users have access to comprehensive instructions․
Furthermore‚ the Eliminator series is often highlighted in online reviews‚ like those found on YouTube‚ demonstrating its practicality and user-friendliness․ Proper understanding of the manual is vital for safe and effective operation․
Charger Models: 011-1518‚ 011-1978-2‚ 011-1970-8‚ 011-1519-6
Motomaster Eliminator battery chargers are available in several models‚ each with specific features detailed in their respective manuals․ Model 011-1518‚ a manual E PDF‚ is a foundational charger within the series․ 011-1978-2‚ documented on ManualsLib‚ represents a workshop-grade option‚ while 011-1970-8 falls under the Precision Series‚ also detailed on ManualsLib․
The 011-1519-6 model is frequently discussed in online reviews‚ including a quick review on YouTube‚ showcasing its practical application․ Each model supports 12V batteries and offers varying current settings‚ typically including 1․5A and 15A options․
Accessing the correct manual for your specific model is crucial for understanding its functionalities and safety precautions․ These manuals provide essential information regarding operation‚ troubleshooting‚ and maintenance procedures․
Intended Use and Battery Types
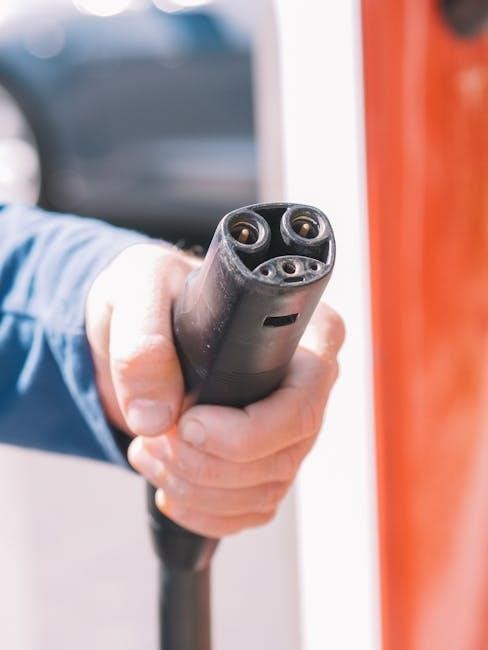
The Motomaster Eliminator battery chargers are designed for a wide range of 12V battery maintenance applications․ These include automotive‚ marine‚ RV‚ and powersports batteries․ They function as both chargers and maintainers‚ extending battery life and ensuring readiness․
These chargers are suitable for various battery types‚ including flooded‚ AGM‚ and gel batteries․ However‚ the manual emphasizes the importance of selecting the appropriate charging mode for each battery type to prevent damage․
Integrating with solar panels (1․8W/125mA‚ 5W/350mA) expands their utility for off-grid applications‚ but requires a Motomaster Eliminator charge controller (11-1890-0) to avoid overcharging․ Always consult the manual for specific battery compatibility and charging recommendations․
Safety Precautions
Read the manual thoroughly before using the Motomaster Eliminator․ Prioritize electrical safety‚ proper ventilation‚ and battery handling to prevent hazards and ensure safe operation․
General Safety Guidelines
Prior to operating the Motomaster Eliminator battery charger‚ a complete review of the owner’s manual is absolutely essential․ This ensures a full understanding of the device’s capabilities and limitations‚ promoting safe and effective use․ Always inspect the charger and cables for any signs of damage before each use; do not operate if damage is detected․
Maintain a clean and dry working environment‚ free from flammable materials; Never attempt to modify the charger in any way‚ as this could compromise its safety features and void any warranty․ Keep the charger out of reach of children and unauthorized personnel․ Disconnect the charger from both the AC power source and the battery before making any adjustments or performing maintenance․
Remember‚ responsible operation‚ guided by the manual‚ is key to preventing accidents and maximizing the lifespan of your charger and battery․
Electrical Safety
Always ensure the power outlet is properly grounded and matches the charger’s voltage requirements․ Never operate the Motomaster Eliminator with a damaged power cord or plug; replace them immediately․ Avoid using extension cords unless absolutely necessary‚ and if used‚ ensure they are of sufficient gauge to handle the charger’s current draw․
Do not expose the charger to rain‚ snow‚ or excessive moisture․ Never touch the charger’s terminals or cables while it is connected to AC power․ Disconnect the charger from the power source before attempting any cleaning or maintenance․ Be cautious of sparks‚ as batteries can release explosive gases during charging․
Regularly inspect the AC plug and cord for wear and tear․ Following these electrical safety guidelines‚ detailed in the manual‚ will minimize the risk of shock or fire․
Battery Safety
Always wear appropriate eye protection (safety glasses or goggles) when working near batteries․ Batteries contain corrosive acid; avoid contact with skin‚ eyes‚ and clothing․ If contact occurs‚ immediately flush the affected area with plenty of water and seek medical attention․
Never charge a frozen battery․ Ensure the battery is well-ventilated during charging to prevent the buildup of explosive hydrogen gas․ Do not smoke or allow sparks or flames near the battery․ Use caution when handling batteries‚ as they are heavy and can cause injury if dropped;
Refer to the Motomaster Eliminator manual for specific battery type compatibility and charging recommendations․ Improper charging can damage the battery or create a hazardous situation․
Proper Ventilation Requirements
Adequate ventilation is paramount when charging batteries with the Motomaster Eliminator charger․ During the charging process‚ batteries release hydrogen gas‚ which is highly flammable and explosive․ Charging in a confined space can lead to a dangerous accumulation of this gas․
Always charge batteries in a well-ventilated area‚ preferably outdoors or in a garage with open doors and windows․ Avoid charging in enclosed spaces like trunks of cars or small‚ unventilated rooms․ Ensure there are no sources of ignition‚ such as sparks‚ flames‚ or smoking materials‚ nearby․
The manual emphasizes the importance of ventilation for safe operation․ Proper airflow dissipates the hydrogen gas‚ minimizing the risk of explosion․ Prioritize ventilation for a secure charging experience․
Understanding the Charger Features
Motomaster Eliminator chargers boast manual and automatic modes‚ 12V settings‚ and 1․5A/15A current options‚ alongside a useful maintenance function․
These features‚ detailed in the manual‚ optimize charging for diverse battery types and conditions․
Charging Modes (Manual & Automatic)
Motomaster Eliminator battery chargers offer both Manual and Automatic charging modes‚ providing users with flexibility and control over the charging process․ The Manual mode allows for precise adjustment of charging parameters‚ ideal for specific battery needs or troubleshooting․ Users can directly control the charging current and duration‚ ensuring a tailored approach․
Conversely‚ the Automatic mode simplifies charging by intelligently assessing the battery’s condition and adjusting the charging process accordingly․ This mode is perfect for routine maintenance and convenience‚ automatically switching to maintenance mode once the battery is fully charged․ The manual emphasizes utilizing the appropriate mode based on battery type and condition for optimal results and longevity․ Selecting the correct mode‚ as outlined in the user guide (like 011-1518)‚ is crucial for safe and efficient operation․
Voltage Settings (12V)
The Motomaster Eliminator battery chargers are specifically designed for 12V battery systems․ This fixed voltage setting ensures compatibility with a wide range of vehicles‚ including cars‚ trucks‚ motorcycles‚ and boats․ The manual‚ such as the one for model 011-1978-2‚ clearly states that the charger is not suitable for batteries requiring different voltages‚ like 6V or 24V systems․
Attempting to charge batteries with incorrect voltage can lead to damage to both the battery and the charger‚ and potentially create a safety hazard․ The 12V setting is optimized for lead-acid‚ AGM‚ and gel batteries commonly found in automotive applications․ Always verify your battery’s voltage requirements before connecting the charger‚ as detailed in the instruction guides available online and through ManualsLib․
Current Settings (1․5A‚ 15A)
The Motomaster Eliminator battery chargers offer two current settings: 1․5A and 15A․ The 1․5A setting is ideal for smaller batteries‚ such as those found in motorcycles‚ ATVs‚ or lawnmowers‚ providing a slower‚ gentler charge․ This is also suitable for maintaining fully charged batteries․ The 15A setting is designed for larger batteries‚ like those in cars and trucks‚ delivering a faster charge when needed․
The manual (e․g․‚ 011-1518) emphasizes selecting the appropriate amperage based on the battery’s capacity․ Using the 15A setting on a small battery can cause overcharging and damage․ Conversely‚ the 1․5A setting may take an excessively long time to charge a large battery․ Refer to the battery manufacturer’s recommendations and the charger’s instructions for optimal charging․
Maintenance Mode Functionality
The Motomaster Eliminator battery chargers feature a crucial Maintenance Mode‚ also known as float charging․ Once the battery reaches full charge‚ the charger automatically switches to this mode‚ providing a small‚ continuous current to offset self-discharge․ This ensures the battery remains fully charged over extended periods of inactivity‚ preventing sulfation and prolonging its lifespan․
The manual (referenced in documents like 011-1978-2) highlights the benefits of this feature for seasonal vehicles or equipment stored for long durations․ It’s a key component of the “intelligent” charging system․ Regular use of Maintenance Mode‚ as described in online reviews and the user manual‚ helps maintain optimal battery health and readiness for use‚ avoiding the need for frequent recharges․
Operating Instructions
Motomaster Eliminator chargers require connecting to AC power first‚ then the battery‚ selecting the correct mode‚ and monitoring the process—refer to the manual․
Connecting the Charger to AC Power
Before connecting the Motomaster Eliminator to AC power‚ ensure the charger is switched to the ‘OFF’ position․ Locate a standard electrical outlet that provides the correct voltage‚ typically 120V AC․ Carefully insert the charger’s AC power plug firmly into the outlet‚ avoiding any loose connections․
Always verify the outlet is properly grounded to prevent electrical hazards․ Do not use extension cords unless absolutely necessary‚ and if used‚ ensure they are heavy-duty and rated for the charger’s amperage․ Inspect the AC power cord for any signs of damage‚ such as cuts or fraying‚ before each use․
If the cord is damaged‚ do not use the charger and consult a qualified technician for repair or replacement․ Once connected‚ the charger may display a power-on indicator‚ confirming a successful connection to the AC power source․ Refer to your specific model’s manual for indicator details;
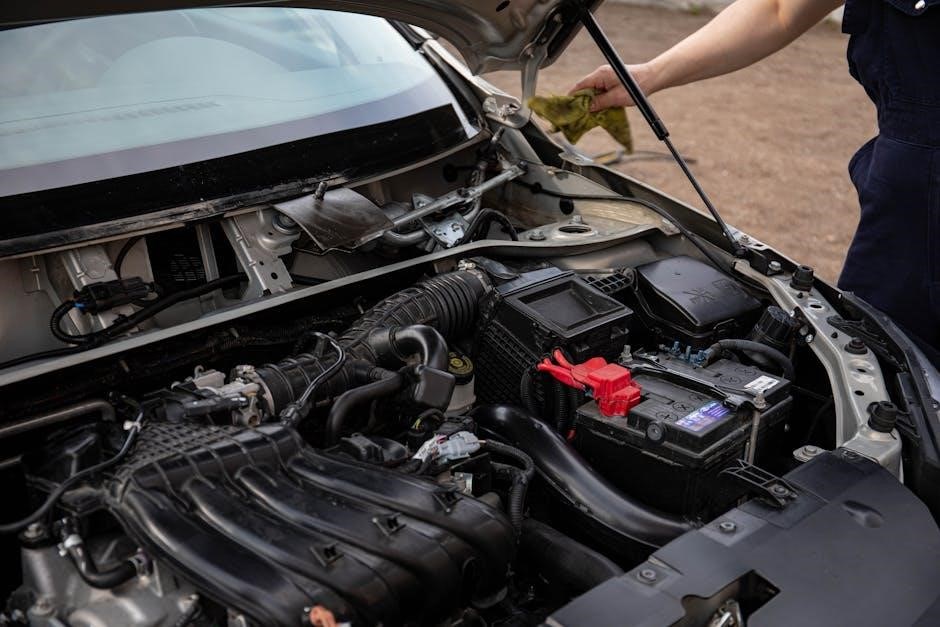
Connecting the Charger to the Battery
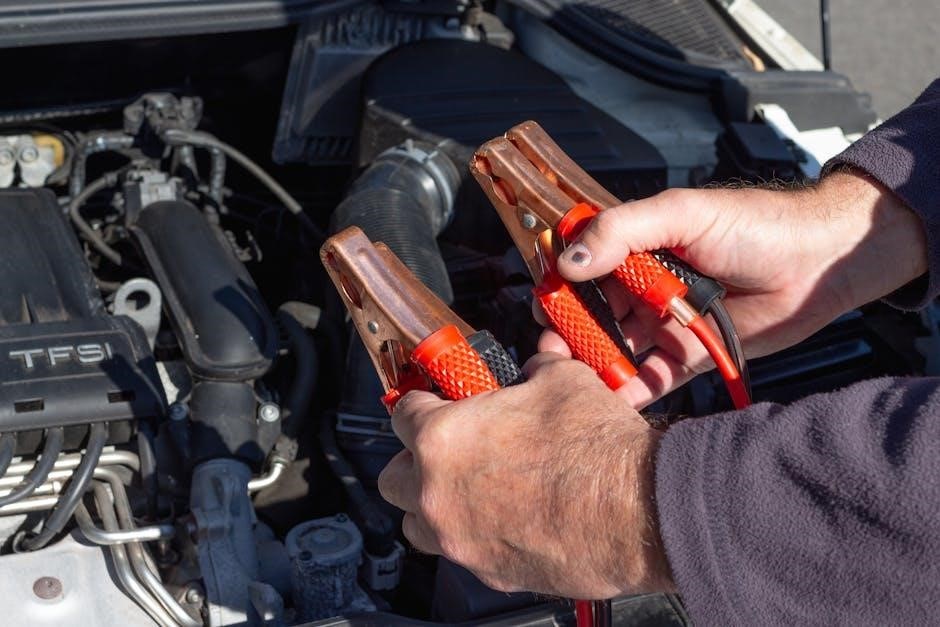
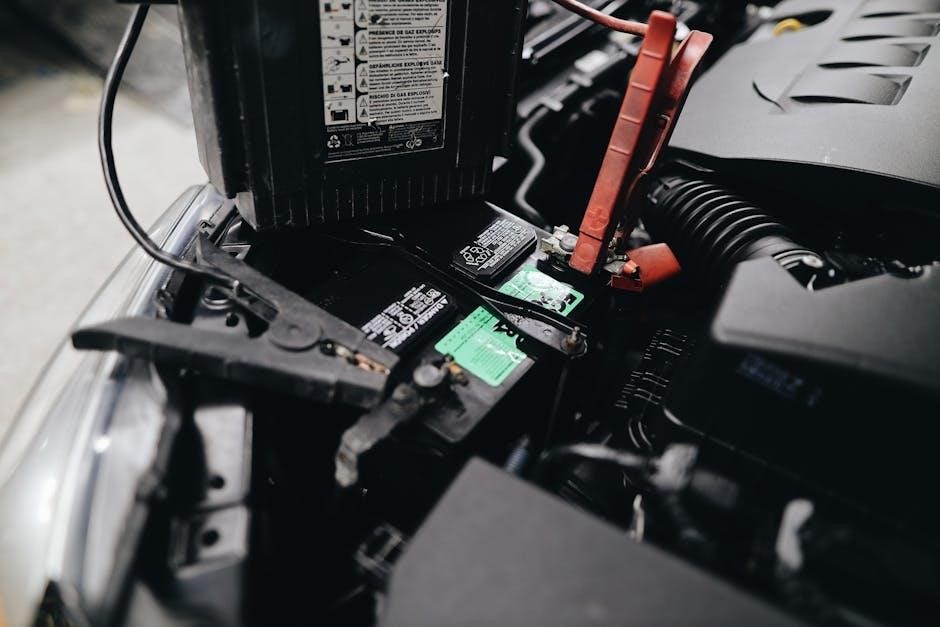
Prior to connecting the Motomaster Eliminator to a battery‚ ensure the battery’s voltage matches the charger’s selected voltage setting (typically 12V)․ Identify the positive (+) and negative (-) terminals on the battery․ Attach the red (positive) clamp to the battery’s positive terminal and the black (negative) clamp to the battery’s negative terminal․
Ensure a secure connection‚ avoiding any accidental short circuits․ Double-check the polarity before proceeding; reversed polarity can damage both the charger and the battery․ The charger may automatically detect the battery’s voltage and adjust the charging process accordingly․
Avoid connecting or disconnecting the clamps while the charger is actively charging․ If sparks occur during connection‚ immediately disconnect and re-check the connections and polarity․ Refer to your model’s manual for specific battery connection guidelines․
Selecting the Appropriate Charging Mode
The Motomaster Eliminator offers both manual and automatic charging modes․ Automatic mode is ideal for most batteries‚ as the charger intelligently adjusts the charging process based on the battery’s condition․ Manual mode allows for customized control over the charging parameters‚ useful for specific battery types or situations․
Consider the battery’s size (amp-hour capacity) when selecting a charging rate․ For smaller batteries‚ use the 1․5A setting for a slower‚ gentler charge․ Larger batteries benefit from the 15A setting for faster charging․ Always consult the battery manufacturer’s recommendations․
Refer to the charger’s manual for detailed instructions on switching between modes and adjusting current settings․ Incorrect settings can lead to undercharging or overcharging‚ potentially damaging the battery․
Monitoring the Charging Process
Regularly check the battery’s voltage during the charging cycle․ The Motomaster Eliminator’s display will indicate the current voltage and charging status․ Observe if the voltage is steadily increasing‚ indicating successful charging․ A stalled voltage may suggest a fully charged battery or a potential issue․
Pay attention to the charger’s indicator lights․ These lights typically signal different stages of the charging process – charging‚ maintaining‚ or completed․ Refer to the manual to understand the specific meaning of each light pattern․
Avoid leaving the charger unattended for extended periods‚ especially during the initial stages of charging․ Periodically inspect the connections and battery for any signs of overheating or damage․ Consistent monitoring ensures safe and effective battery charging․
Troubleshooting
If the charger fails to power on or the battery doesn’t charge‚ consult the manual for error codes and solutions․
Charge controllers (11-1890-0) prevent overcharging․
Charger Not Powering On
If your Motomaster Eliminator battery charger isn’t powering on‚ begin by verifying the AC power source․ Ensure the outlet is functioning correctly by testing it with another device․ Next‚ inspect the charger’s power cord for any visible damage‚ such as cuts or frayed wires․ A damaged cord must be replaced before attempting to use the charger․
Double-check that the power switch is firmly in the ‘ON’ position․ Some models may have a fuse; consult the owner’s manual (like 011-1518 or 011-1978-2) to locate and inspect the fuse․ A blown fuse indicates a potential internal issue requiring professional attention․ If these steps don’t resolve the problem‚ the charger may have an internal fault and should not be used; contact customer support for assistance․
Remember to always refer to the specific manual for your model number․
Battery Not Charging
If the Motomaster Eliminator charger is powered on but the battery isn’t charging‚ first confirm the correct polarity of the connections․ Red clamp to positive (+)‚ black clamp to negative (-)․ Incorrect polarity will prevent charging and could damage the battery or charger․ Verify the battery voltage is within the charger’s compatible range (typically 12V)․
Ensure the selected charging mode and current setting are appropriate for the battery type and condition․ A deeply discharged battery may require a longer charging time or a higher current setting (like 15A)․ If using solar panels (1․8W/125mA or 5W/350mA)‚ a charge controller (11-1890-0) is crucial to prevent overcharging and ensure proper charging․ Consult the manual for troubleshooting specific error codes․
Check the cable connections for looseness or corrosion․
Error Codes and Their Meanings
The Motomaster Eliminator battery charger may display error codes to indicate specific issues․ While the exact codes aren’t detailed in the provided snippets‚ the manual (e․g․‚ 011-1518‚ 011-1978-2) is essential for decoding these signals․ Generally‚ error codes relate to problems like reverse polarity connection – where the red and black clamps are switched – or a faulty battery cell․
Other potential errors could indicate an open circuit (broken connection)‚ a short circuit‚ or overvoltage/undervoltage conditions․ If an error code appears‚ immediately disconnect the charger from both the AC power source and the battery․ Refer to the manual’s troubleshooting section to identify the code’s meaning and the recommended corrective action․ Ignoring error codes can lead to battery damage or charger malfunction․
Always prioritize safety and consult the manual․
Overcharging Prevention with Charge Controllers (11-1890-0)
When integrating solar panels (1․8W/125mA‚ 5W/350mA) with the Motomaster Eliminator‚ a charge controller (specifically model 11-1890-0‚ sold separately) is strongly recommended․ This is crucial to prevent overcharging the battery‚ which can significantly reduce its lifespan and potentially cause damage․ Solar panels generate variable voltage and current depending on sunlight intensity․
The charge controller regulates this input‚ ensuring a safe and consistent charging process․ It prevents the battery from receiving excessive voltage or current‚ protecting it from overheating and gassing․ The manual emphasizes reading it before and during solar integration․ Without a controller‚ the Eliminator’s internal protection may be insufficient for sustained solar input‚ leading to premature battery failure․
Prioritize battery health with this essential accessory․
Solar Panel Integration
Motomaster Eliminator chargers can utilize solar panels (1․8W/125mA‚ 5W/350mA)‚ but a charge controller (11-1890-0) is vital for safe‚ optimal charging․

Using Solar Panels with the Eliminator (1․8W/125mA‚ 5W/350mA)
Motomaster Eliminator battery chargers offer the flexibility of being paired with small solar panels for trickle charging and maintenance․ Specifically‚ the 1․8W/125mA and 5W/350mA solar panels are compatible options‚ providing a sustainable energy source․
However‚ direct connection of these solar panels to the battery is strongly discouraged․ The manual emphasizes the necessity of utilizing a Motomaster Eliminator Battery Charge Controller (11-1890-0‚ sold separately)․ This controller regulates the voltage and current‚ preventing overcharging and potential damage to the battery․
Without a charge controller‚ the solar panel’s output can fluctuate with sunlight intensity‚ leading to inconsistent charging and potentially shortening the battery’s lifespan․ The controller ensures a safe and efficient charging process‚ maximizing battery health and longevity when using solar power․
Recommended Charge Controllers for Solar Use
When integrating solar panels with your Motomaster Eliminator battery charger‚ the Motomaster Eliminator Battery Charge Controller (11-1890-0) is the explicitly recommended choice‚ as detailed in the product manual․ This controller is specifically designed to work seamlessly with the Eliminator series‚ ensuring optimal charging performance and battery protection․
Its primary function is to regulate the voltage and current flowing from the solar panel to the battery‚ preventing overcharging – a critical concern when utilizing renewable energy sources․ The controller safeguards against potential damage‚ extending the battery’s lifespan and maintaining its capacity․
While other charge controllers may be compatible‚ Motomaster does not endorse or guarantee their performance with the Eliminator chargers․ Using the recommended controller (11-1890-0) provides the most reliable and safe solar charging experience․
Optimizing Solar Charging Efficiency
To maximize solar charging efficiency with your Motomaster Eliminator‚ strategic panel placement is key․ Ensure the solar panel receives direct sunlight for the longest possible duration throughout the day‚ minimizing shading from trees or buildings․
Utilizing a Motomaster Eliminator Battery Charge Controller (11-1890-0) is crucial; it regulates power flow‚ preventing energy loss from overcharging․ Consider the panel wattage – the 1․8W/125mA and 5W/350mA panels are compatible‚ but larger panels may require adjustments․
Regularly clean the solar panel surface to remove dust and debris‚ which can significantly reduce energy absorption․ Monitor the charging process and adjust panel angle seasonally to align with the sun’s path‚ ensuring peak performance and efficient battery maintenance․
Maintenance and Storage
Motomaster recommends regular cleaning and cable inspection for longevity․ Store the charger in a dry location‚ and maintain batteries for optimal performance․
Proper storage ensures reliable operation‚ extending the life of your Eliminator charger and connected batteries․
Cleaning the Charger
Maintaining a clean Motomaster Eliminator battery charger is essential for safe and efficient operation․ Before any cleaning procedure‚ always disconnect the charger from both the AC power source and the battery to prevent electrical shock․
Use a dry cloth to wipe down the exterior casing‚ removing any dust‚ dirt‚ or debris that may have accumulated․ Avoid using water or any cleaning solvents‚ as these could damage the internal components․ Pay particular attention to the charging clamps and connectors‚ ensuring they are free from corrosion․
If corrosion is present‚ gently clean it with a wire brush or sandpaper‚ followed by a dry cloth․ Regularly inspecting and cleaning the charger will help prolong its lifespan and maintain optimal performance‚ as outlined in the user manual․
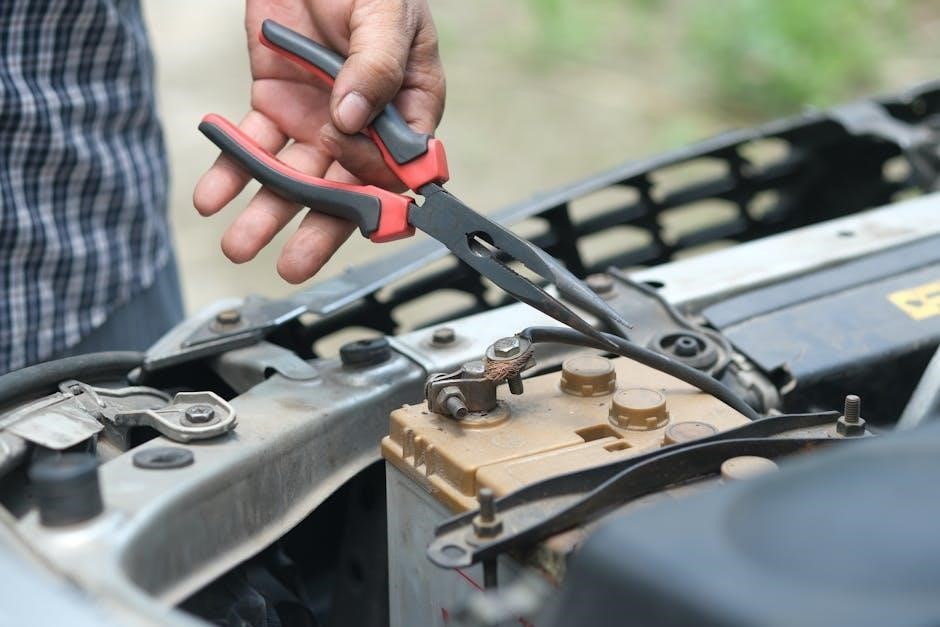
Cable Inspection and Care
Regularly inspect the charging cables of your Motomaster Eliminator for any signs of damage․ Look for cracks‚ fraying‚ or exposed wires‚ as these can pose a serious electrical hazard․ Before each use‚ ensure the cables are securely connected to both the charger and the battery terminals․
Avoid kinking or bending the cables sharply‚ as this can damage the internal wiring․ When storing the charger‚ coil the cables loosely to prevent them from becoming tangled or stressed․ Do not expose the cables to extreme temperatures or harsh chemicals․
If a cable is damaged‚ do not use the charger until the cable has been replaced․ Refer to the owner’s manual for guidance on proper cable replacement procedures‚ ensuring continued safe operation․
Proper Storage Procedures
When storing your Motomaster Eliminator battery charger‚ always disconnect it from both the AC power source and the battery․ Clean the charger thoroughly‚ removing any dirt or debris as outlined in the manual․ Ensure the cables are coiled loosely and secured to prevent damage during storage․
Store the charger in a cool‚ dry environment‚ away from direct sunlight and extreme temperatures․ Avoid storing it in damp or humid locations‚ as this can lead to corrosion․ Keep the charger out of reach of children and pets․
The original packaging is ideal for storage‚ providing protection against physical damage․ Regularly check the stored charger for any signs of deterioration before future use‚ referencing the manual for inspection guidelines․
Battery Maintenance Tips
Regular battery maintenance extends its lifespan and ensures optimal performance when used with the Motomaster Eliminator charger․ Periodically check the battery terminals for corrosion and clean them with a baking soda solution․ Ensure the battery is adequately charged‚ utilizing the charger’s maintenance mode for long-term storage․
Inspect the battery case for cracks or leaks‚ and address any issues promptly․ Avoid deep discharging the battery whenever possible‚ as this can reduce its capacity․ The manual emphasizes the importance of proper ventilation during charging to prevent gas buildup․
Consider using a battery hydrometer to check the electrolyte levels in wet-cell batteries․ Following these tips‚ alongside the charger’s features‚ will maximize battery health․
Related Posts

la bête à 7 têtes et 10 cornes pdf
The beast with seven heads and ten horns, as described…

black and decker all in one bread maker manual
Experience the convenience of homemade bread with the Black &…